Using Visual Studio to Run NCF
Step 1: Open the Solution
After synchronizing/extracting the source code or directly installing from the template, open the /src/NCF.sln solution file to see the complete NCF template project:
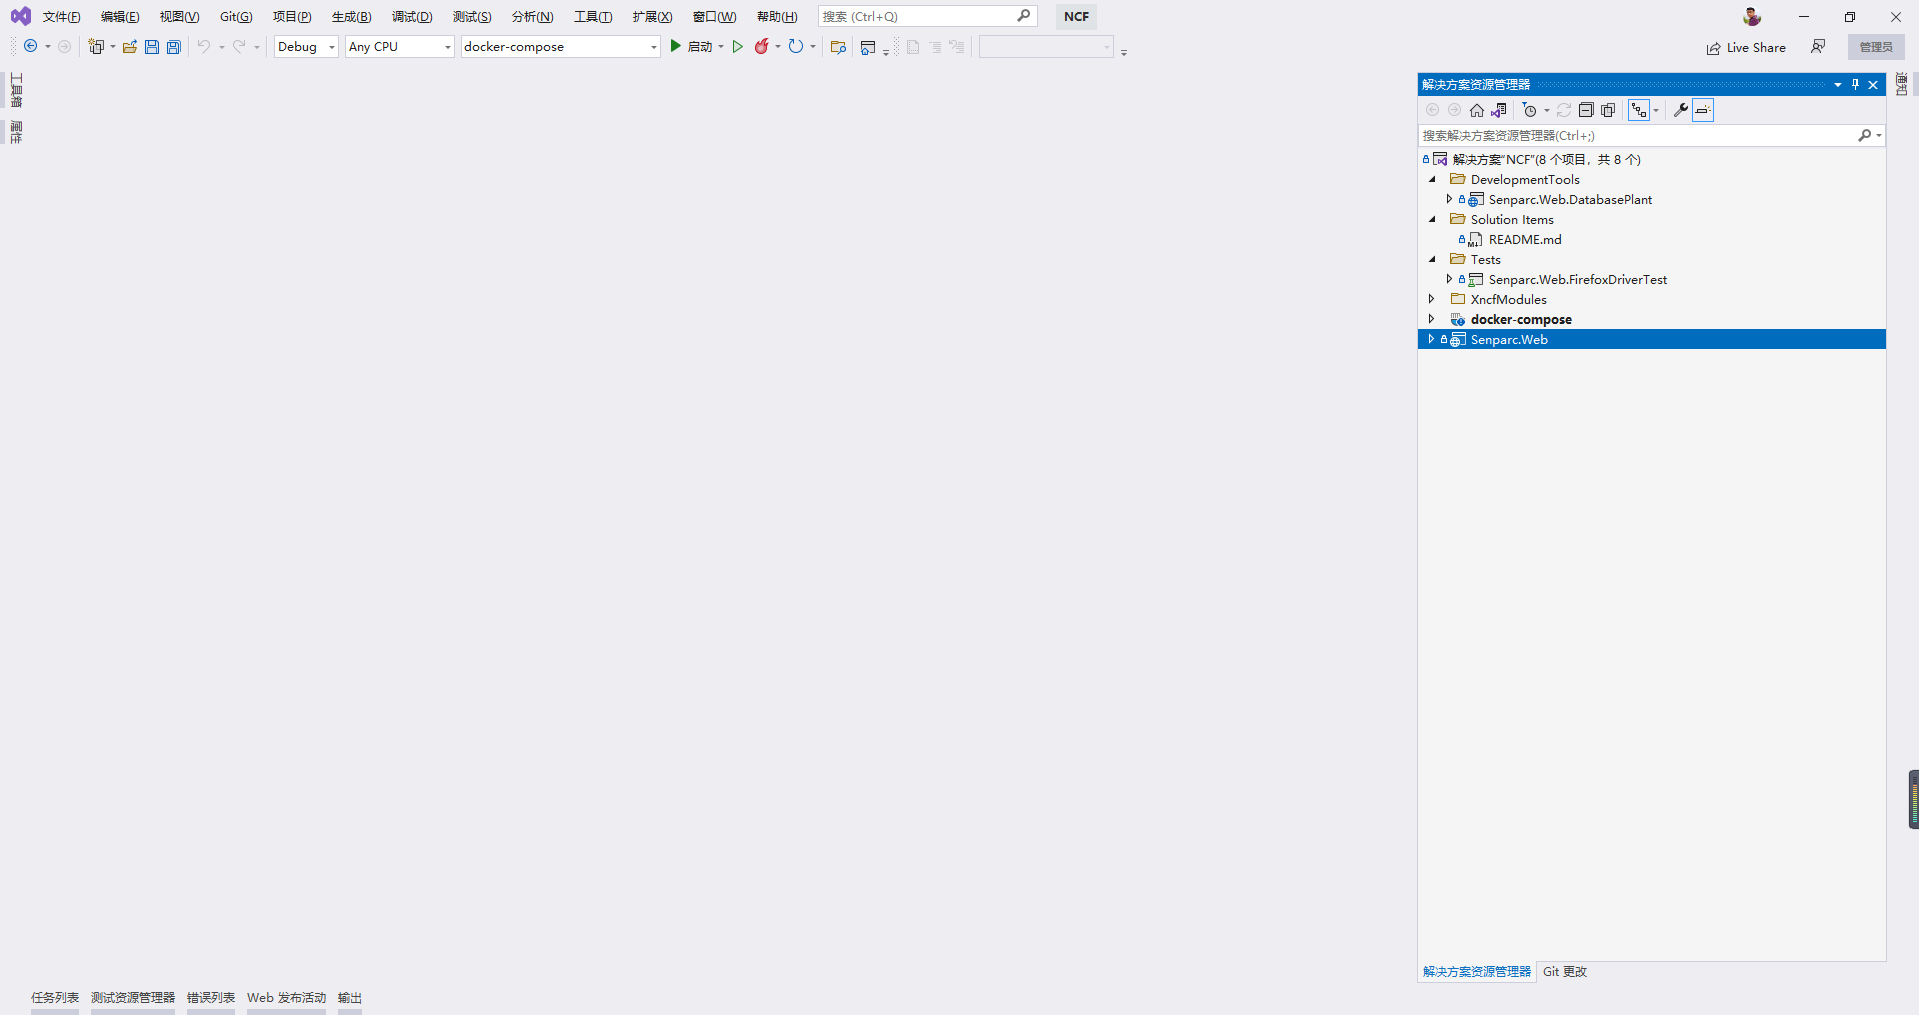
Step 2: Confirm Senparc.Web as the Startup Project
The Senparc.Web project is used to start the web site. Confirm that it is set as the startup project (bold). If not, right-click and select "Set as Startup Project".

Step 3: Run
Click the top menu "Build" > "Start Without Debugging", or use the shortcut Ctrl/Command + F5
Note: The default database is SQLite, so you do not need to configure the database at this stage. To switch to another database, see Using Multiple Databases.
Complete Startup
After a few seconds, the NCF Web project will start. The system will automatically prompt installation the first time it starts. After installation is complete, the installation interface will no longer appear.